Teacher Guide
Setup Bytello Account & Sign In
Steps:
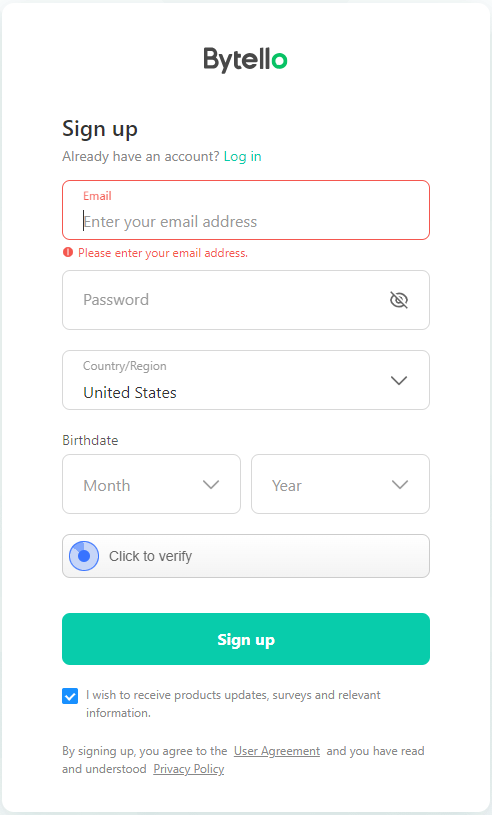
Create a Bytello Account
Go to Bytello and create a free Bytello account.
Sign Into your new Bytello account and connect your Google Drive or Microsoft OneDrive.
Now you can use your mobile device to scan the QR code and sign in with either your Google or Microsoft account. This will also allow you to save your work directly into your cloud accounts from the V7 IFP.
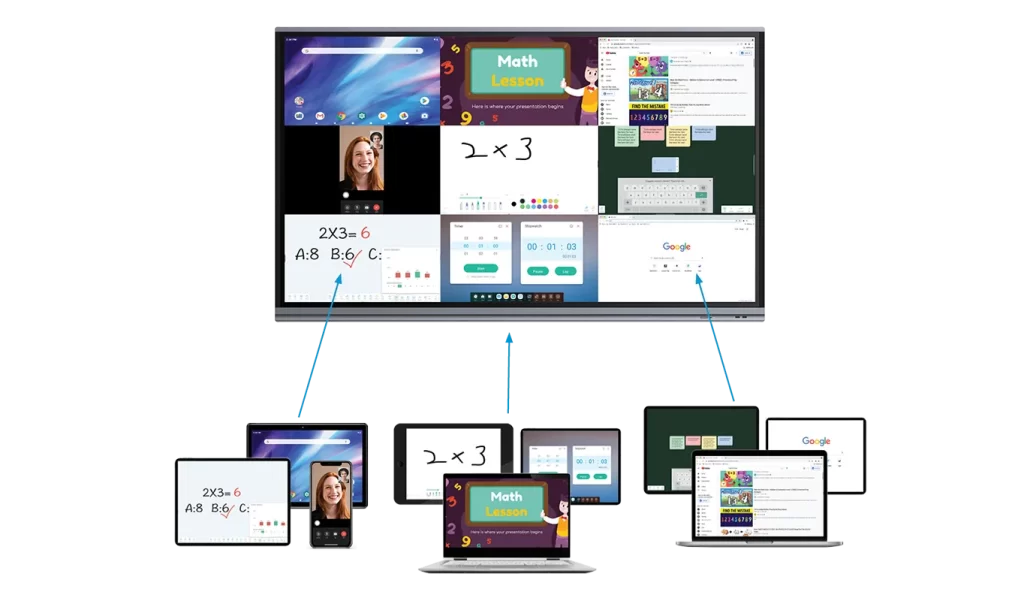
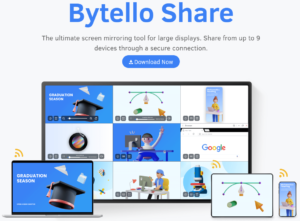
Casting from Device to IFP
Steps:
Download and install the Bytello Share application for your device.
Open Bytello Share on your computer and wirelessly connect to the V7 IFP by entering the six digit code at the top of the screen.
Once connected, select ok
Screen Share and you can now cast your entire screen, applications, or even specific tabs to the IFP.
V7 IFP supports the following protocols:
- Bytello Share (multiple streams)
- Chromecast (single stream)
- Airplay (single stream)
- Miracast (single stream)
- Web (single stream)
Binding Google Drive & Microsoft One Drive to Bytello Account
Steps:
Once you have created your free Bytello account, you can login and integrate Google Drive and Microsoft One Drive into your workflow.
- Login at https://id.bytello.com/
- Click “Integrations”
Here you can choose to use your Google/Microsoft accounts for logging into your Bytello account.
Click on “Connect” and login into the appropriate account. Now when you login to the V7 IFP, it will automatically integrate into your cloud drive account and files.
Annotate anything and save to the cloud or insert into Notes
Steps:
Click on “Mark” overlay icon.
Annotate anything you want on the screen.
- Click on “Insert” to put the annotated screenshot into the Note application.
- Click on “More” where you can share the image: using a generated QR code
- Save it directly to your preferred cloud drive if you are signed into your Bytello account.
Easily Share Notes with QR Code
Steps:
Open the “Note” application.
Do your lesson on the whiteboard.
Click “Share” in the lower left hand corner.
The application will create a temporary QR code that will allow the notes to be downloaded as image files.
Click the QR code to make it larger.
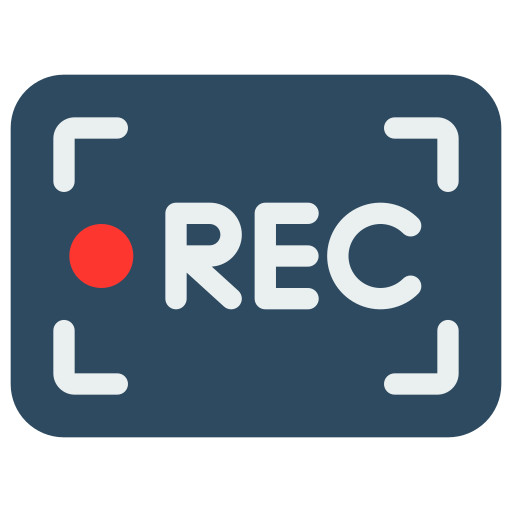
Record Your Lessons
Steps:
You can record pretty much any lesson that you are doing within the Android applications.
When you are ready to start recording the screen:
- Open the “Overlay” menu. They are the greyed out icons on the navigation bar.
- Click on “Record”. If not visible by default, click on “More”.
- Press the “Record” button in the lower right hand corner of the screen.
- There will be a quick 3 second delay.
- Do your lesson and when done, press the “Stop” icon. You can also “Pause” the recording at any time.
- Once you press “Stop” there will be a pop-up that will allow you to view the file or view the file location. From the file location you can copy the recording directly into your connected cloud drive.